Deadman Wonderland Line Art Anime Drawing Easy
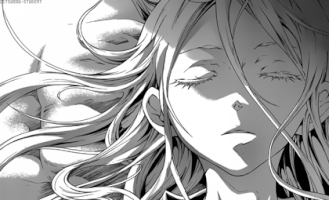
Hello, it's me again, Lin and being back with another drawing, I decided to go back to my black and white days xD so yeah I'll be drawing Shiro from the anime deadman wonderland. And damn why not? I love the anime and I've been wanting to draw shiro for a while now, I mean have you seen those lashes? Damn
▃▃▃▃▃▃▃▃▃▃▃▃▃▃▃▃▃▃▃
REFERENCE
▃▃▃▃▃▃▃▃▃▃▃▃▃▃▃▃▃▃▃
MATERIALS
Sketch Pad
Pencil
Technical pen (0.5-0.8)
Colored pencils
Eraser
▃▃▃▃▃▃▃▃▃▃▃▃▃▃▃▃▃▃▃
SKETCHING
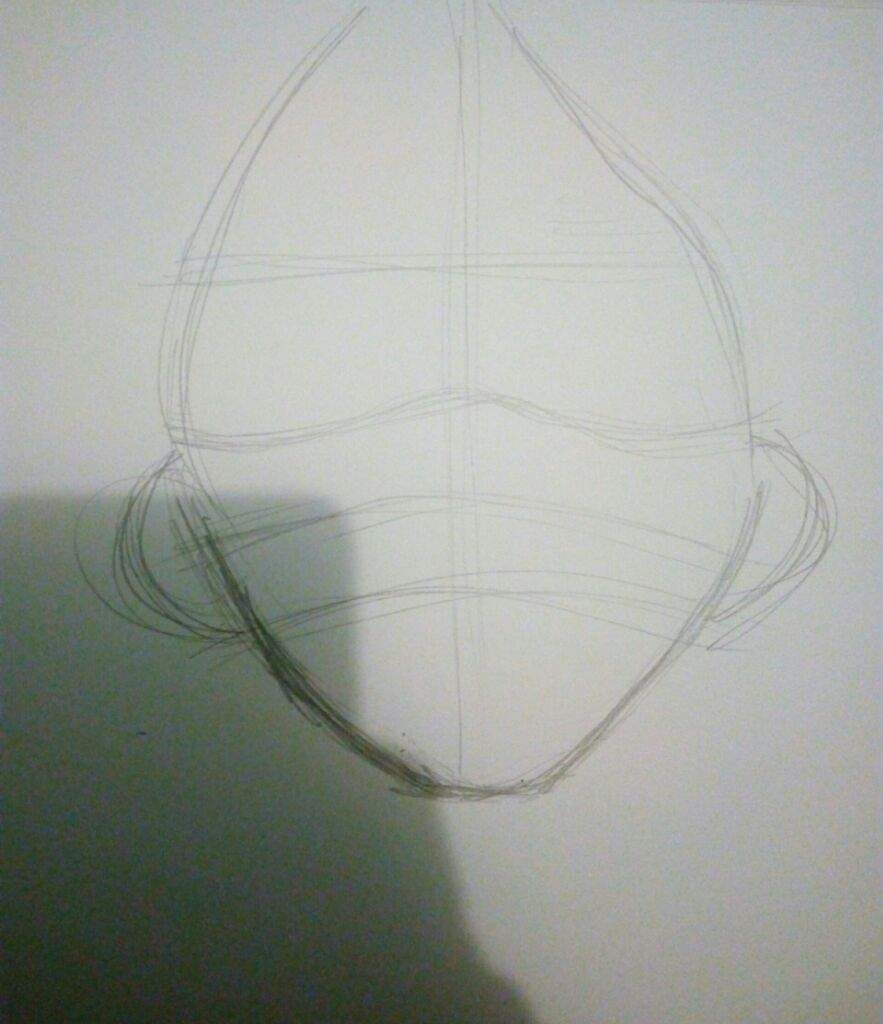
For the first part of the sketching, we'll draw the face. Since her face is a bit curvy here and she's laying down, so we draw a bunch of curvy lines for the face shape. I started from the middle-top part of her bangs then all the way down to her temple, cheek then chin. It's the same for both sides so after you're done with that, draw the necessary guidelines for the facial features
──────❁──────
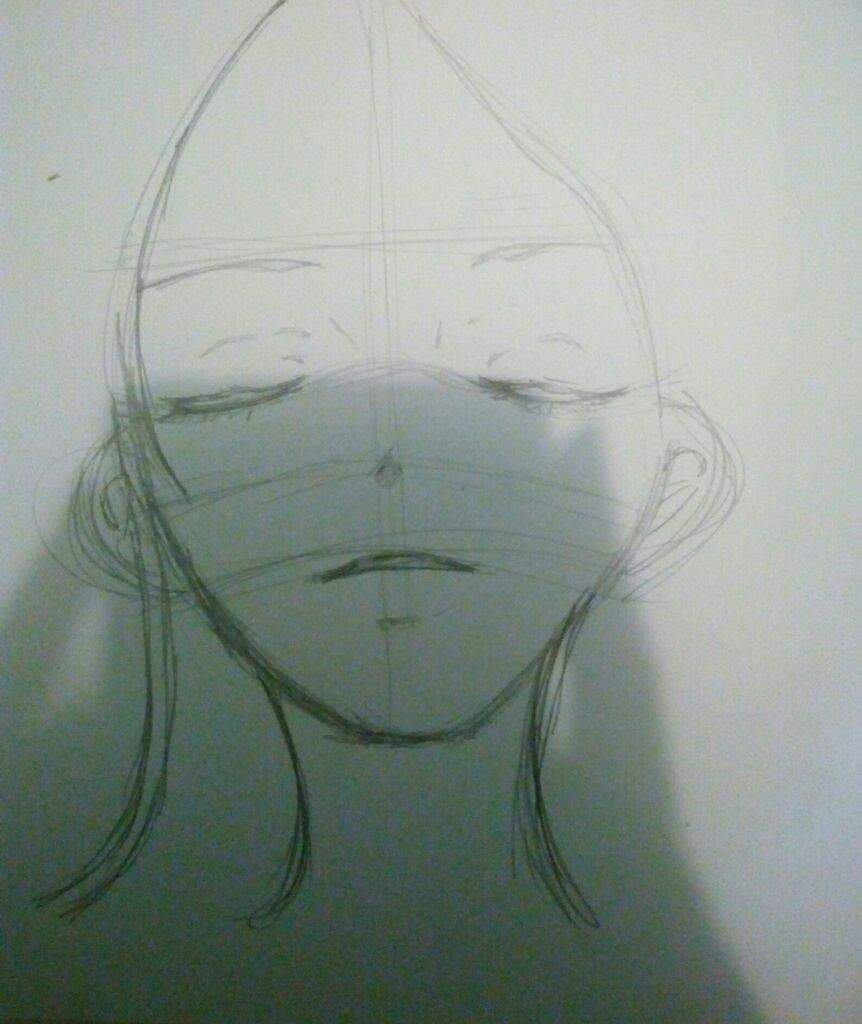
Now the second part is the facial features. Since we've already drawn the guidelines, the next thing to do is use it and draw the facial features. Since she's laying down, there are all sorts of different angles for her features. For example, her eyebrows and eyes. For those, just make them slanting since like I said earlier, she's laying down then for the nose just draw it an inch below the eyes and a few millimeters below that is her mouth
──────❁──────
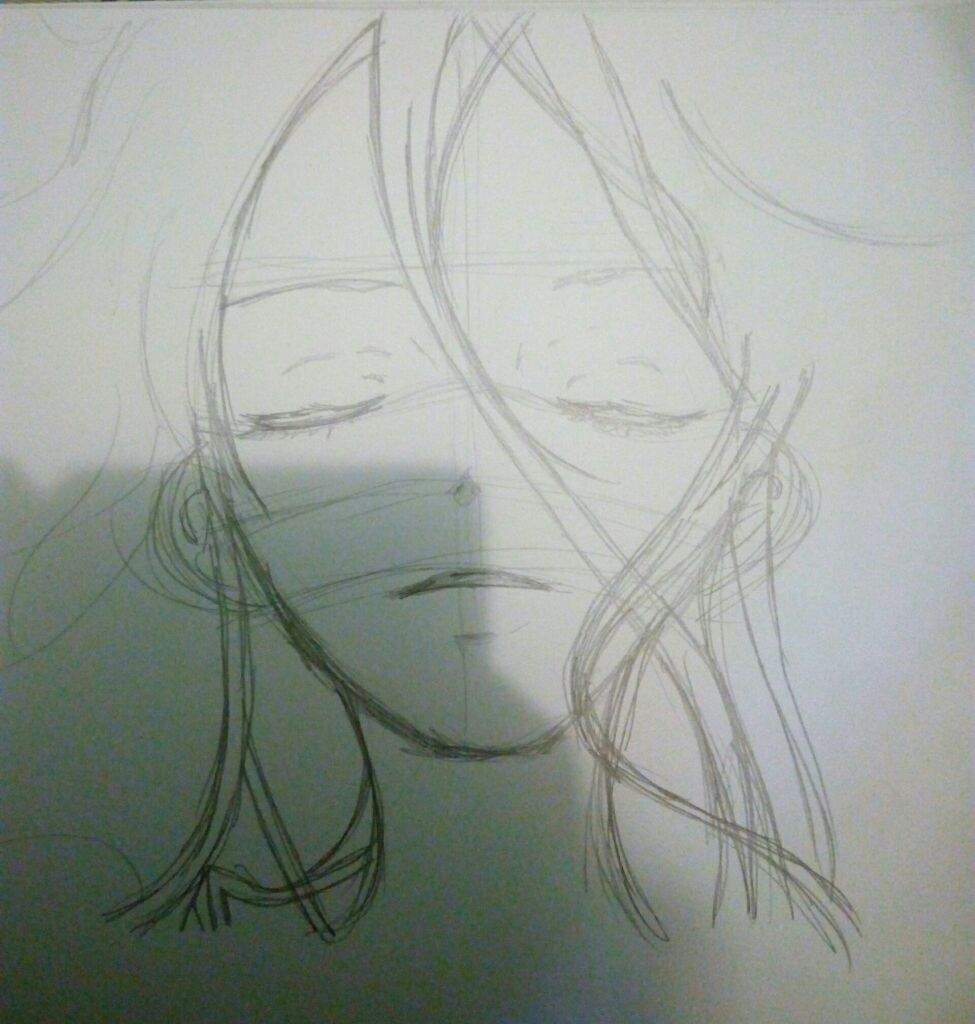
This time we'll draw her bangs and a few outlines for the strands. So we'll start with the first wide strand, this one is in the middle and is curved. If you noticed, it's slightly more curved when it goes above the nose and this is because the nose bridge makes the hair curved to add more reality to it. After that, just continue drawing a few curves and details for the hair
──────❁──────
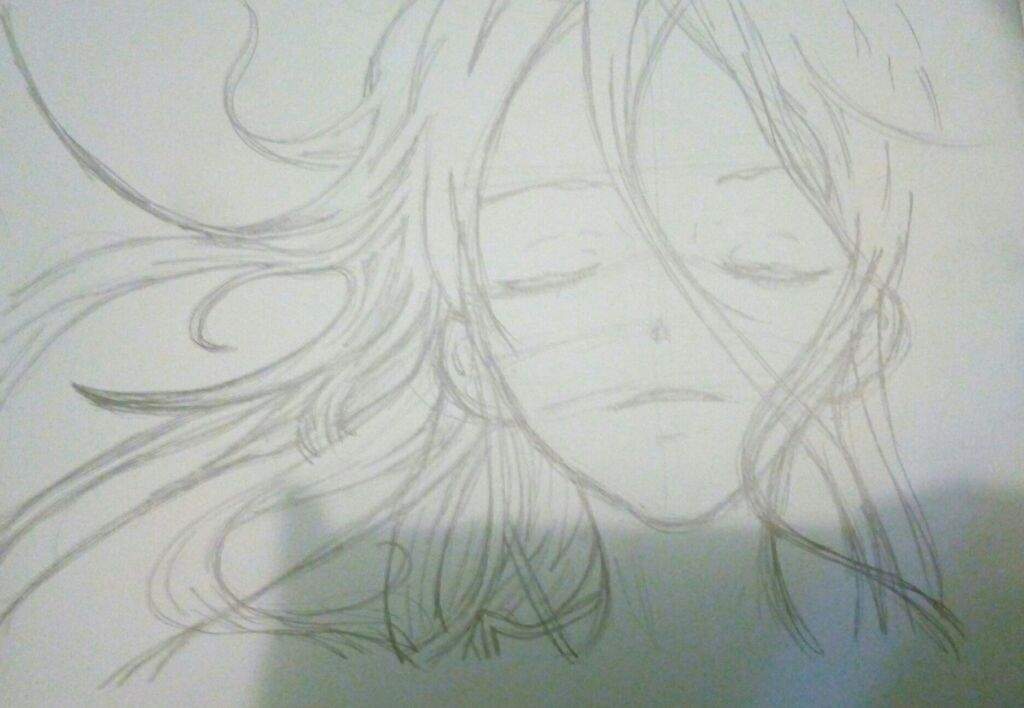
Lastly for the sketching, we have to draw the rest of the hair and then adding a few bits of details here and there. So there are different types of detail here |-•) one of them are the filled out parts, the parts like V and circles are the ones which will be fully inked later on, there's also the fade where you ink most part of it and put in a fading effect, there's the light shide where you shade a part lightly and there's the lines, random lines that are light and mostly short. So yeah I made up the names but that's how they are
▃▃▃▃▃▃▃▃▃▃▃▃▃▃▃▃▃▃▃
OUTLINING
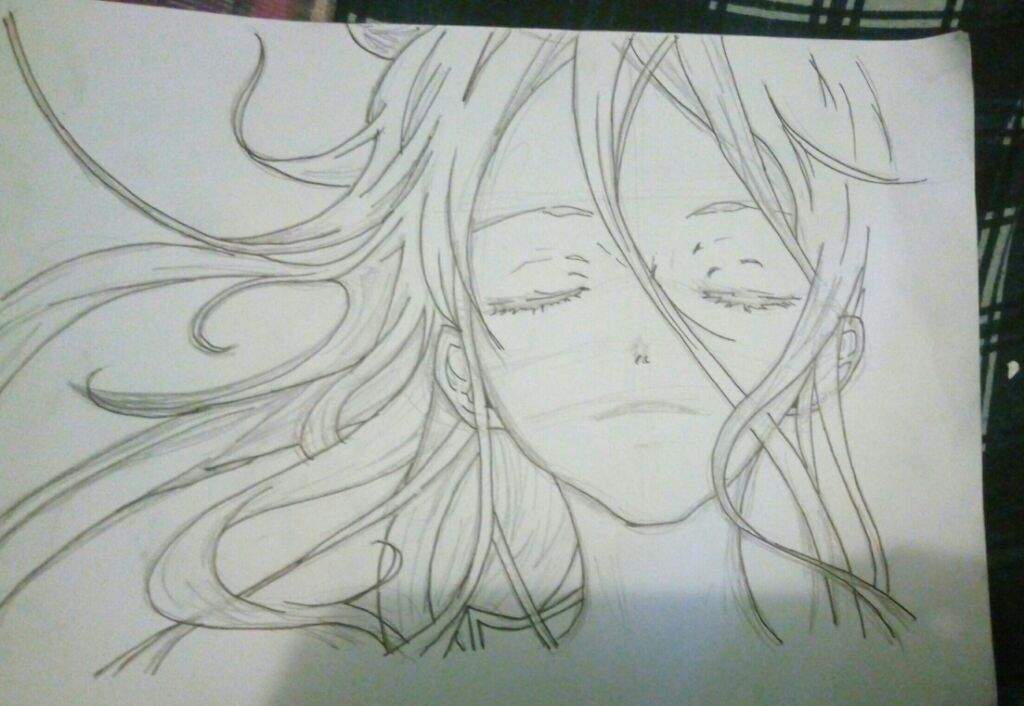
Now onto the outlining, as usual, I simply outlined them but I had to be careful with this one since it's a closeup image and most parts are huge and requires lots of long lines and since I'm using a pen and stuff, I had to be careful
▃▃▃▃▃▃▃▃▃▃▃▃▃▃▃▃▃▃▃
ERASING
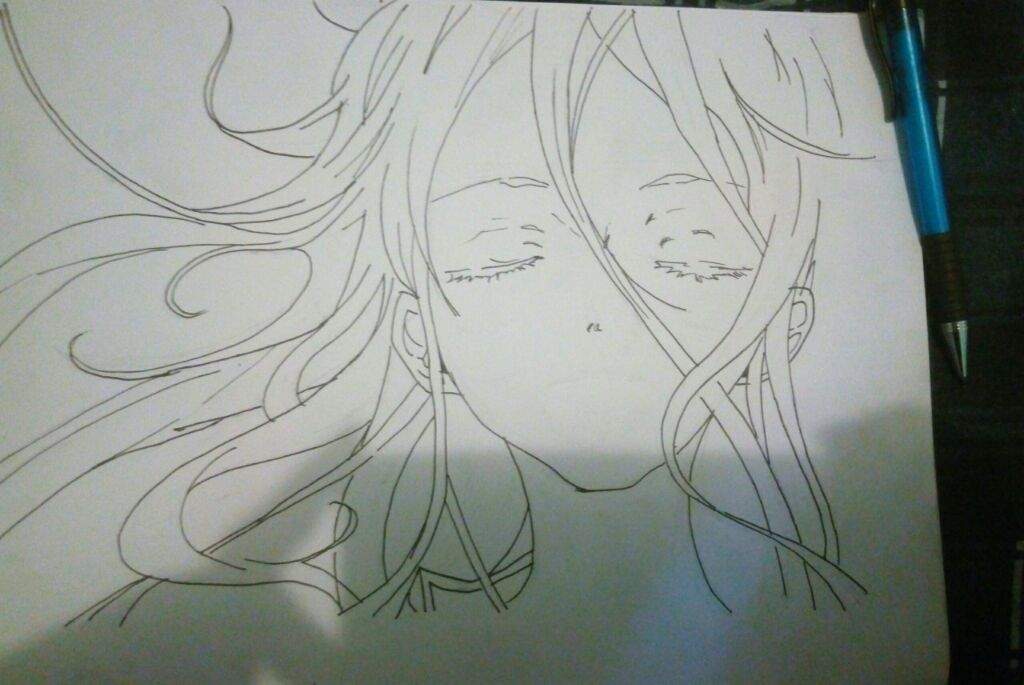
Same thing for the erasing, as usual, you gotta be careful and take it slow but to be honest for me, I randomly just erased it all the way and erased the second time if there were a bit of pencil lines left, don't stop until there are no pencil lines left anymore on your drawing
▃▃▃▃▃▃▃▃▃▃▃▃▃▃▃▃▃▃▃
INKING
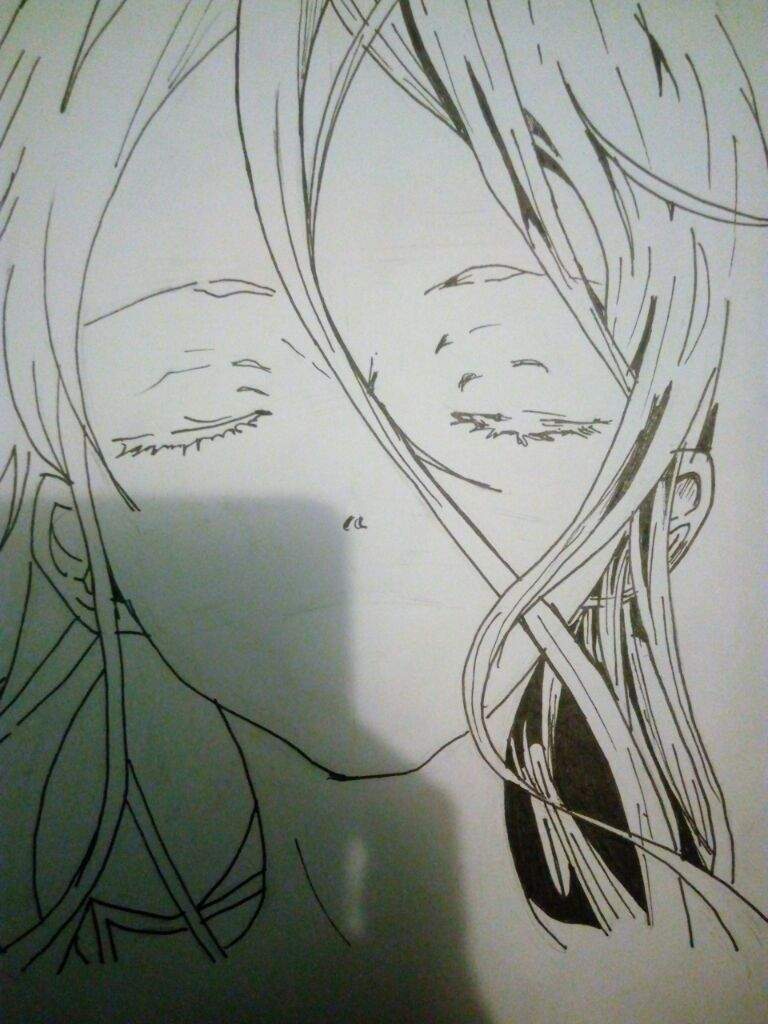
Now onto the inking part, I've been rusty since it's been days? Since I last drew and I just kept being a lazy ass in bed so my hands are wobbly and shaky but yeahhh the first thing I did this time was do the inking details on the right side of her hair since it was.. I don't know why but it's simpler than the left part. So like I said earlier about the details, I used different types of them for the inking and filled those different type of details for the hair strands on the right part of her hair
──────❁──────
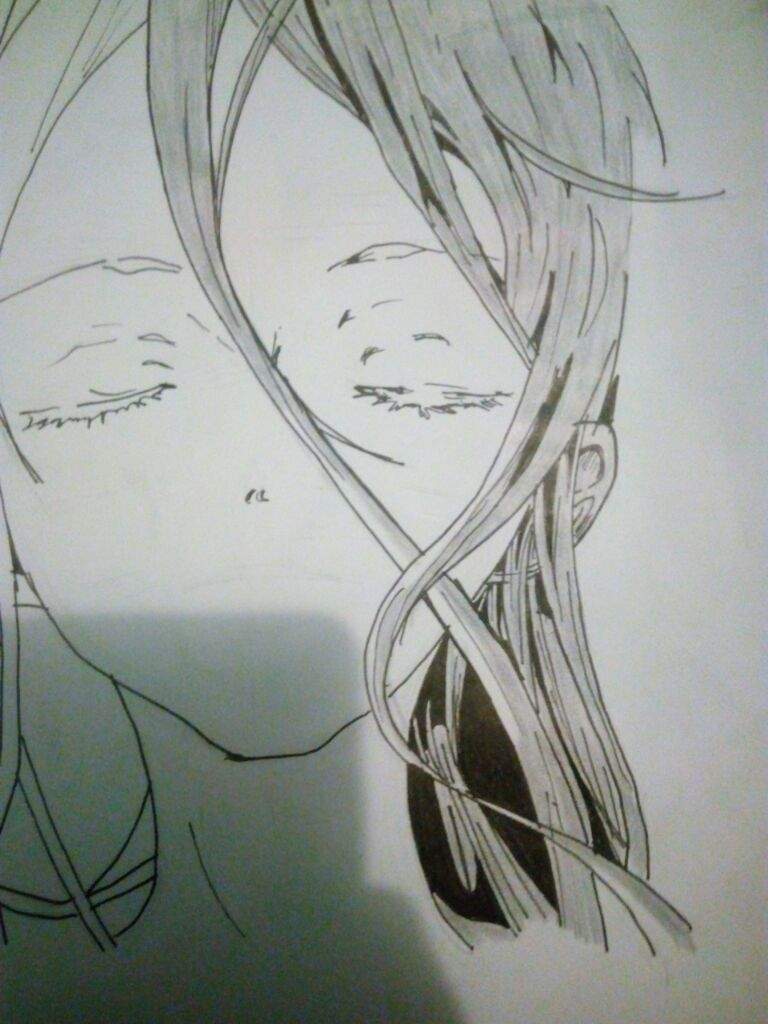
Next is for the same part of the hair, please get your gray colored pencil or even a simple pencil will do as long as you can use it for shading. For the shading, there are only three types. The first one is the full shading where you shade an area fully it's either a light or dark type of shading. Next is the one where you cut a part and shade it, not shading it fully and the last one is when you leave a space white or blank so it'll be for the highlights
──────❁──────
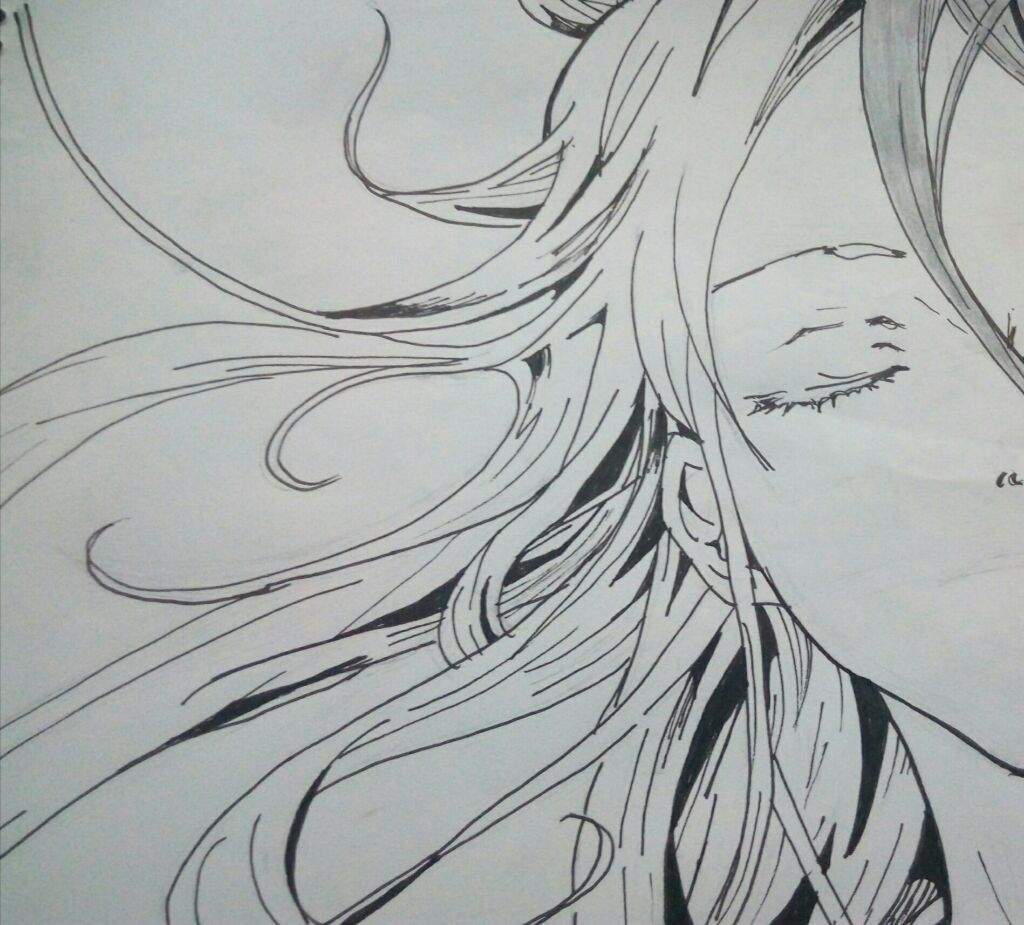
After that, start inking on the left part of the hair. For the left part of the hair since it's mostly just strands, you start with adding those different types of details and prepare it for the coloring part next time
──────❁──────
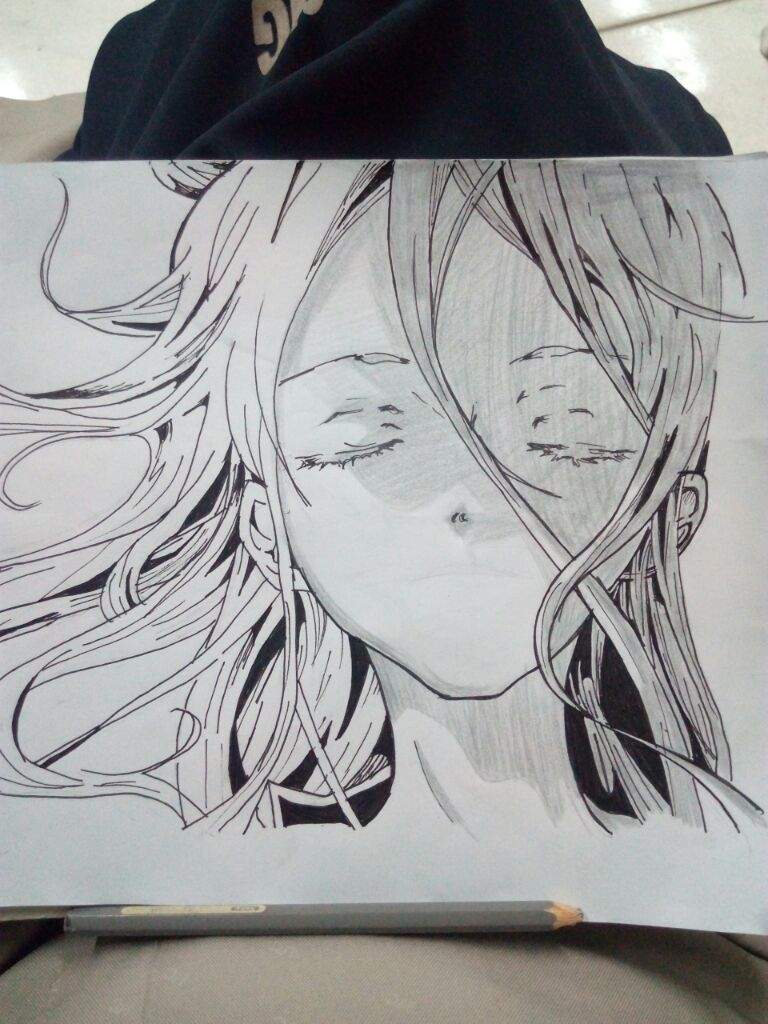
Instead of coloring the left part of the hair next, I decided to shade her face since I'd have to add her mouth later on. For her face, I applied the different types of shading. For the right side of her face, it's the full on shading where I shaded everything and for the left side, there's the partial shading of both light and dark and lastly on the same left side, I left a few parts white and blank
──────❁──────
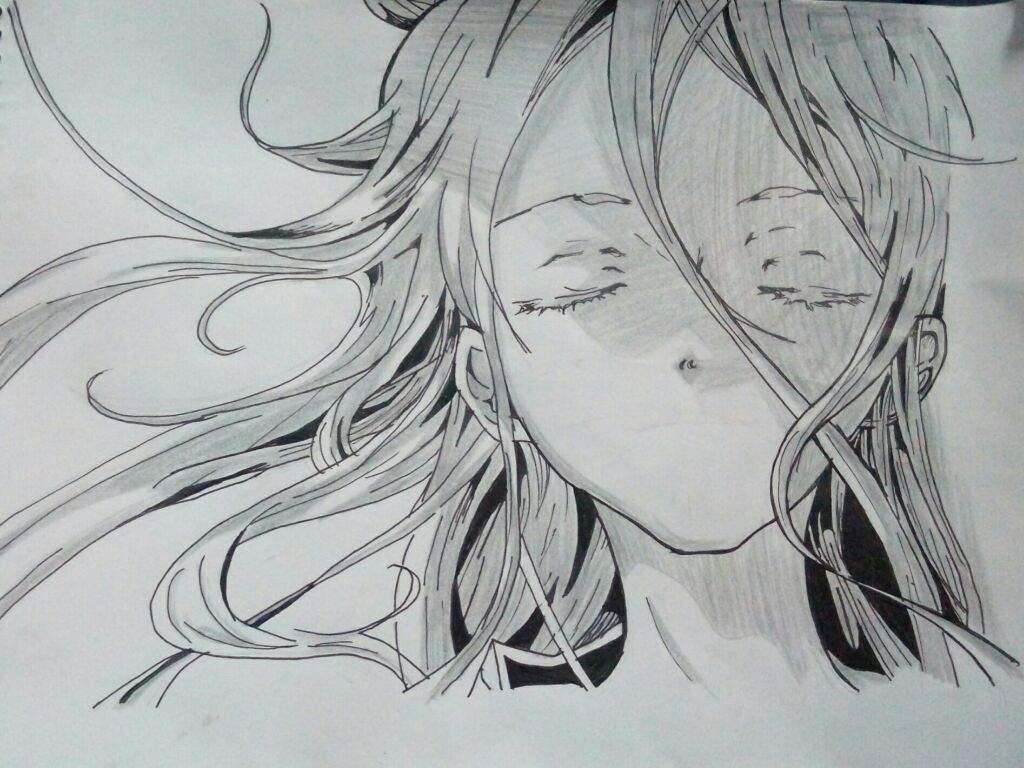
Okay this time, after shading all those things, I finally shaded her hair on the left side. For this I left a few parts blank or white but other than that, just simply shade it all
──────❁──────
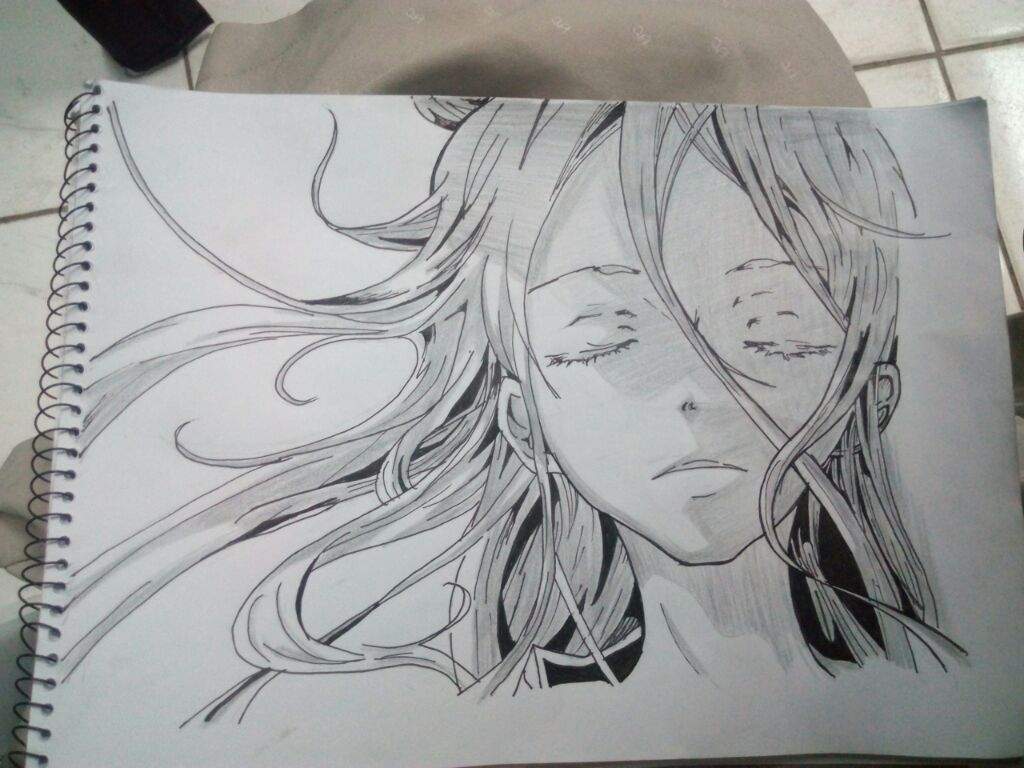
Lastly, since I haven't drawn her mouth yet, I decided to do that then outline the mouth. Lastly, I shaded the remaining areas and the ones near the mouth and even shaded the sides of the face. But other than all those, we're finally done and are ready to move on to the remaining part of this tutorial
▃▃▃▃▃▃▃▃▃▃▃▃▃▃▃▃▃▃▃
FINAL DETAILS
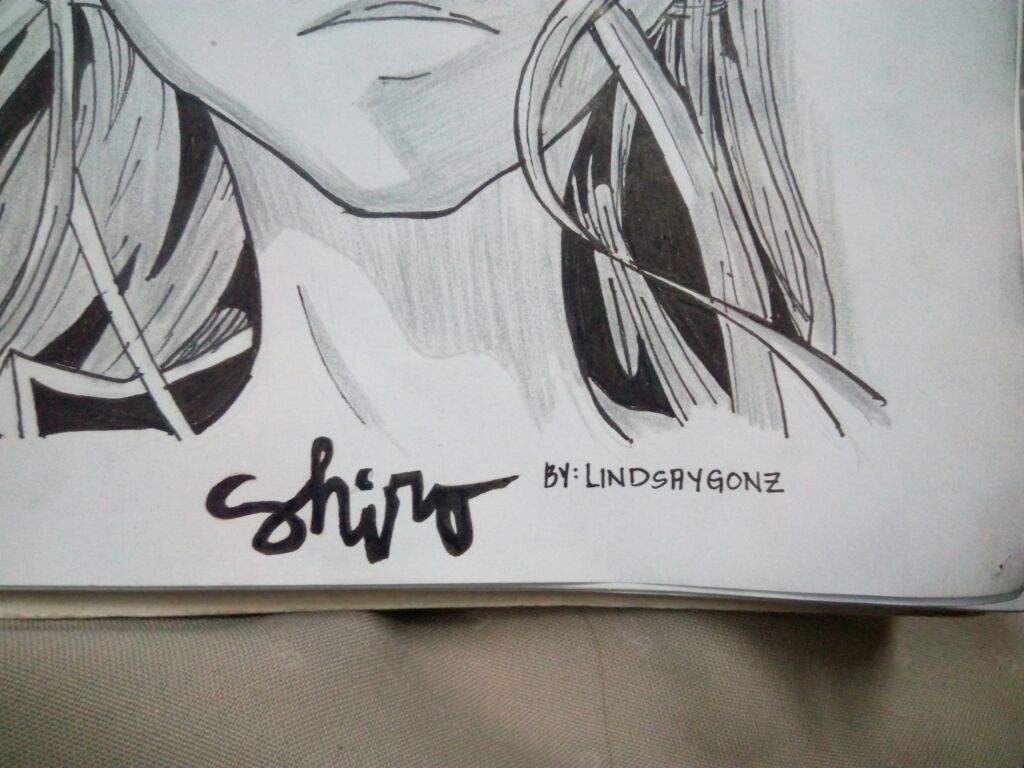
For the final details part, I didn't add much only put in Shiro's name and my name. I was thinking of putting the anime name as well but I guess I was too lazy and this is alright. So yeah put in your signature for the final part since if you're doing something like this and you don't want others to copy or if you want them to know it's yours, then smack dab that name right there
▃▃▃▃▃▃▃▃▃▃▃▃▃▃▃▃▃▃▃
FINISHED
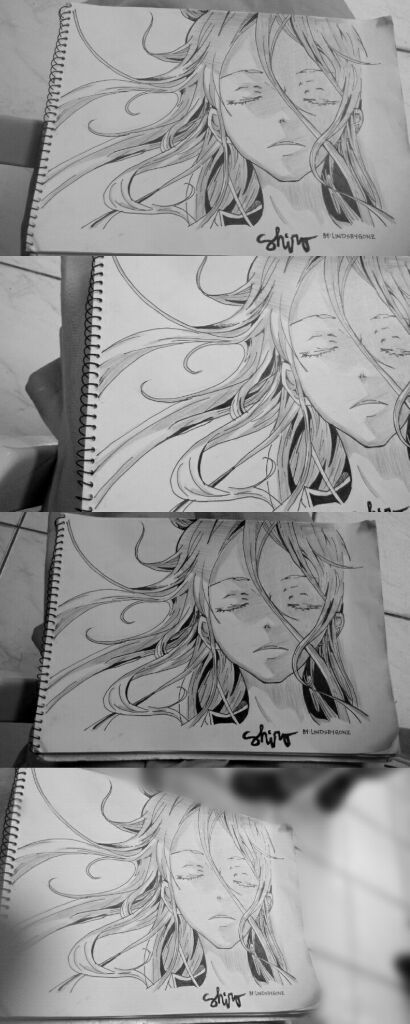
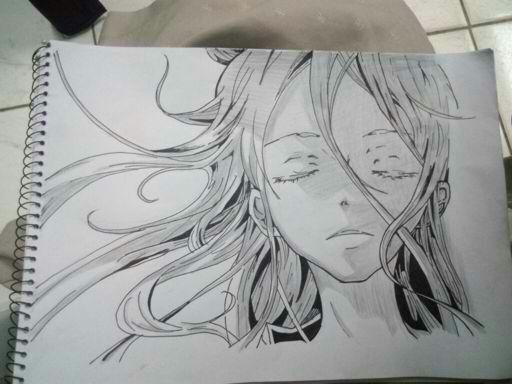
Finally finished. I didn't really get good pics but here they are in different angles and distance and lighting and darkness and I really don't know but yeah there are four pictures all in all for the final product
▃▃▃▃▃▃▃▃▃▃▃▃▃▃▃▃▃▃▃
#Linblogs #DeadmanWonderland #Shiro #Drawing #Drawingtutorial
TPL made by me @.@
Source: https://aminoapps.com/c/anime/page/blog/deadman-wonderland-drawing-shiro/D7tP_umjEBYlD8zQgJmkBxoqQego3a
0 Response to "Deadman Wonderland Line Art Anime Drawing Easy"
Post a Comment